In the age of Instagram and social media, photo editing is a popular and important step in photography. It doesn’t matter if you are a professional photographer or just a person who wants to make his photos look better.
Lightroom, Adobe’s popular photo editing and cataloging software, is a fantastic way to organize your photos and process them.
I have a whole individual online course about photo editing in Lightroom, where you’ll learn step-by-step every detail of editing and by the end you’ll be able to work with the program quickly and easily. In today’s article, I will tell you the basics of working with Lightroom and convince you that it is the best photo editing program.
WHY EDIT PHOTOS IN LIGHTROOM?
Lightroom, an app available for both Windows and Mac users, makes it easy to organize, edit, and retouch a large number of photos in one place. You can even make bulk edits and edit multiple images at the same time.
With bulk editing, you’ll keep your photos in the same style and save a lot of time. You can also do face retouching in Lightroom or delete unnecessary objects from a picture. In Lightroom you can use so-called presets, which are already default settings that you can apply to your photo with one click.
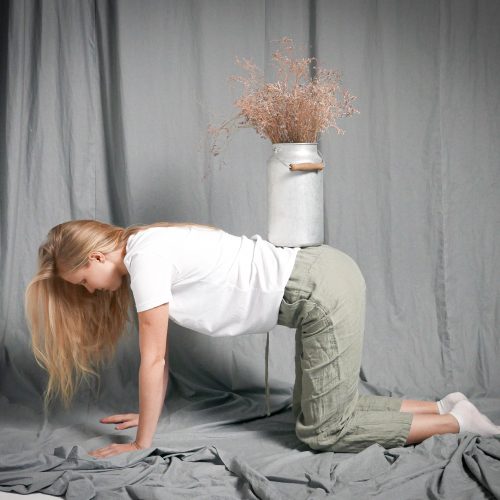
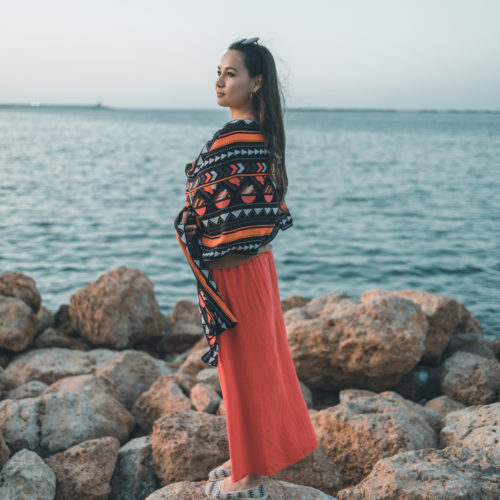
Here’s an example of a photo before and after editing in Adobe Lightroom (slide the slider to see the change):


WHAT TO WATCH OUT FOR BEFORE YOU START EDITING PHOTOS IN ADOBE LIGHTROOM?
Before making any basic edits in Lightroom, there are a few questions you can ask yourself to help you make editing decisions.
- Have you chosen the sharpest image possible? If it’s a person, are the eyes in focus?
- Do you have a straight horizon?
- Do the colors look natural?
- Do the skin tones look natural?
- Are the colors in the photo too warm or too cool?
- Are details missing in the brightest highlights and/or darkest shadows?
- Does the subject of the photo stand out?
- Are there distracting elements in the photo that detract from the subject?
- Is there too much distracting graphic noise?
- If there is a person in the photo, do they have a lot of blemishes on their skin that interfere with the image?
- Are the teeth in the photo too yellow?
2 OF MY PERSONAL TIPS BEFORE EDITING PHOTOS
- When you take photos on your camera, always take RAW photos, not JPEGs. You can easily change this in the camera settings. Many cameras have the option to take photos in RAW+JPEG. If you don’t want to edit all your photos, you can leave this option and use the RAW format to edit your photos afterwards.
Shooting in RAW format gives you more freedom when editing your photos afterward. Editing RAW images gives you the flexibility to get more out of them.
When shooting with a smartphone, the RAW format can be achieved using external apps.
- Underexpose rather than overexpose (that is, take a darker shot rather than a lighter one) – this will allow the image to retain more detail in Lightroom, and editing will be possible with greater range.
HOW TO START EDITING PHOTOS IN ADOBE LIGHTROOM CLASSIC AND THE MOST IMPORTANT TOOLS
- Start by importing the photos you want to edit into Lightroom. In Adobe Lightroom, click on “File” and then “Import Photos and Videos”. You can select the images you like or set up automatic selection. I also talk more about this option on my Lightroom course. Next, click on “Develop” on the top right.
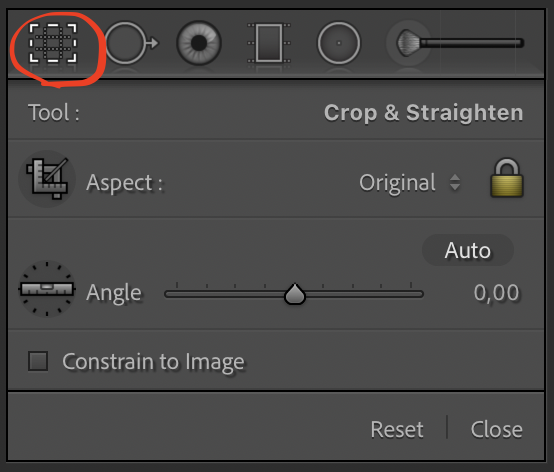
- Crop: A tool is needed not only if you’ve taken a picture of some unnecessary object and want to crop it, but also if you want to straighten the horizon (I personally sometimes have a problem with this).
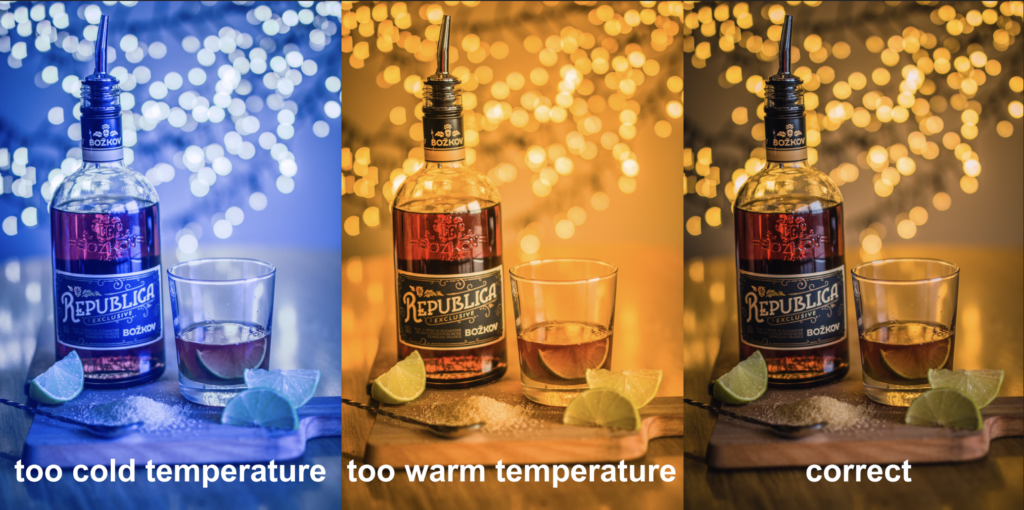
- White balance: white balance is a tool that helps the camera’s sensor to adjust the colors according to the lighting conditions of the environment. Although you can do this balancing when you take the photo, you often need to make corrections after the photo has been taken. Not only can you adjust the color temperature this way, but you can also shift the hue to compensate for lighting that is too green or too purple. The goal is to get the colours as close to the reality as possible.
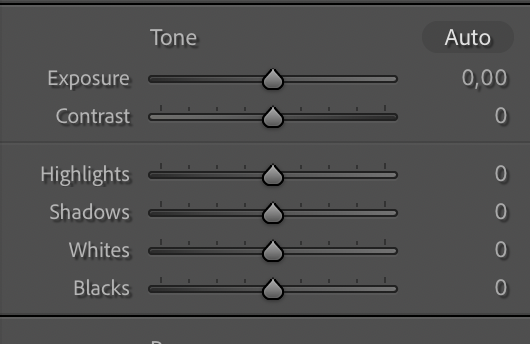
- Tone. Often unpredictable lighting conditions can cause highlights to be too bright or shadows to be too dark, resulting in a loss of information.
Exposure is a good way to lighten a darker image, but you should always start with highlights/shadows, whites/blacks and see if this results in a brighter image. Sometimes this is enough and you don’t need to use exposure in the end, on the other hand, sometimes you will need exposure as well and then it’s good to push it (for example, about +0.5).
Contrast is a good tool to use for product photography, but I highly recommend you don’t use it when photographing people.
- Texture / Clarity / Dehaze. I don’t recommend using any of these when you’re shooting portraits of people, but for product photography, it’s a great way to bring the product out of the background.
For portraits, the better tool is Sharpening.
The Dehaze tool is mostly used to open up the sky colors, but you can also use it as a stylistic approach to your image.
- Vibrance vs. Saturation. In short, saturation is the intensity of all colors.
Vibrance is a tool that takes into account under-saturated colors and saturates them.
In case you are editing a portrait, you will never achieve very high saturation. Therefore, work with vibration instead. Saturation can give you a very yellowish or orange skin color that won’t look natural. I usually increase the vibrance on portrait images and lower the saturation a bit, like at -7 or -10, to bring out the color a bit, but it still looks natural.


- HSL/Color: Sometimes it’s much better to use this tool to bring out a particular color rather than vibrance or saturation. It’s a more advanced tool, but it gives you unlimited creativity in the colors of your photo. For example, this fall a lot of people wanted to have a fall themed photo shoot. However, up until the end of October, the leaves were still green and not the yellow that everyone would have liked to have in a true fall photo. HSL/Color settings are excellent for such occasions. They can help you do magic and change the colors in your photos beyond recognition.
We’ll talk more about working with color in a one-on-one online Lightroom course.
- Advanced Settings. However, there is much more you can do in Adobe Lightroom Classic, such as:
- you can play with the tone curve.
- fix lens distortion or chromatic aberration, which annoys most photographers (it’s the inability of the lens to focus all the focus in the same place. When this happens, the photo shows green or purple colored lines around the edges)
- to focus the person’s eye on the subject by adding a white or black vignette
- retouch blemishes, soften skin, lighten teeth, retouch eyes, and many other advanced and creative ways to take your photo from good to great.
- Export. Set your image format to JPEG (unless you need it to be in a specific format), quality to 100, and resolution to at least 150, but I personally recommend ideally 300 resolution. You can also change the location where you want to save the image and set a custom name. When I shoot for my clients, I usually give the Custom Title – Sequence option and then the images are saved as NAME – 1, NAME – 2, etc.
If you want to learn how to use Adobe Lightroom Classic like a pro, I definitely recommend talking to an experienced person or taking a course. If you like my work, I’d be happy for you to take my one-on-one online course where I’ll guide you from the beginning of editing to the end result of beautiful photos.