Do you want to expand your product portfolio? Possibly attract customers, differentiate yourself from the competition or become more visible? In this case, high-quality product photos can help you a lot. Today we are surrounded by photographs on every side. High-quality advertising photos can help increase sales and as the market grows, so does the demand for photographers who can take good product photos.
If you want to attract more customers, evoke positive emotions and the WOW effect, I will tell you more about advertising photography, what is its purpose and also some tips on how to take a good advertising photo.
What is advertising photography?
Advertising photography captures the emotions, feelings or mood that a particular product evokes in the viewer. The purpose of advertising photography is to display the product or service as attractively as possible, to catch the viewer’s attention and to call them to action. Photographs therefore play an important role in advertising and marketing.
The ultimate goal of advertising photography is to appeal to customers to buy the product or service, thus helping to increase sales. A successful advertising photographer uses a blend of photographic skills and an understanding of psychology to achieve this goal. Advertising photographers approach their work as artists whose job is to tell a story through stylized images, color, lighting and framing.
Division of product photography
In product photography you have 2 options:
1. The product is photographed against a white, black or grey background with nothing else than the product. These photos are especially suitable for eshops. The purpose is informative – introducing the product, its design and its advantages.
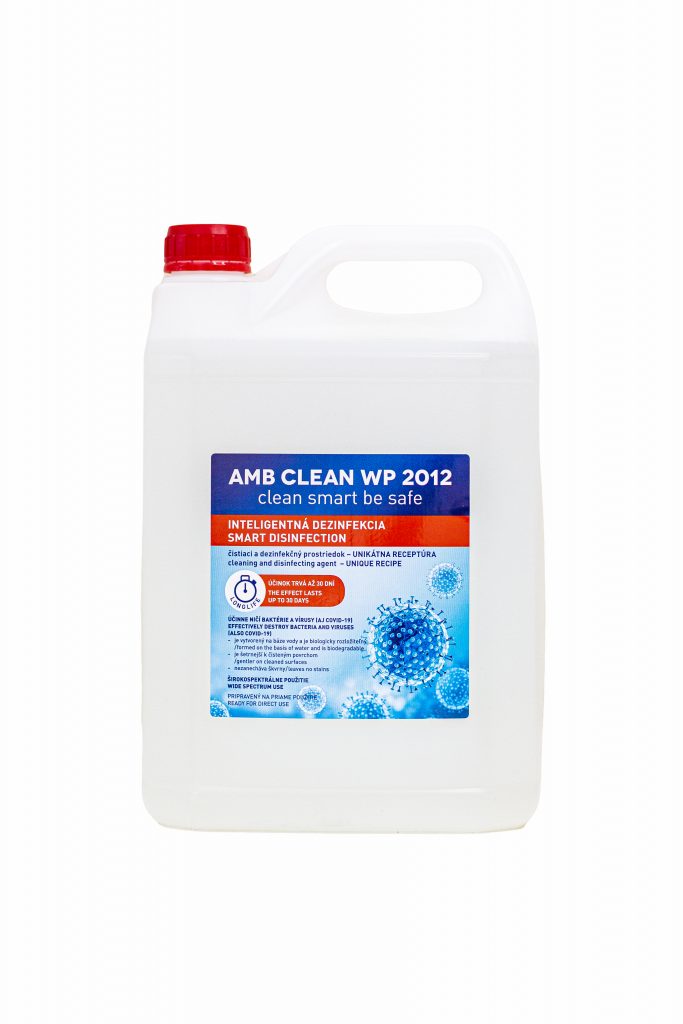
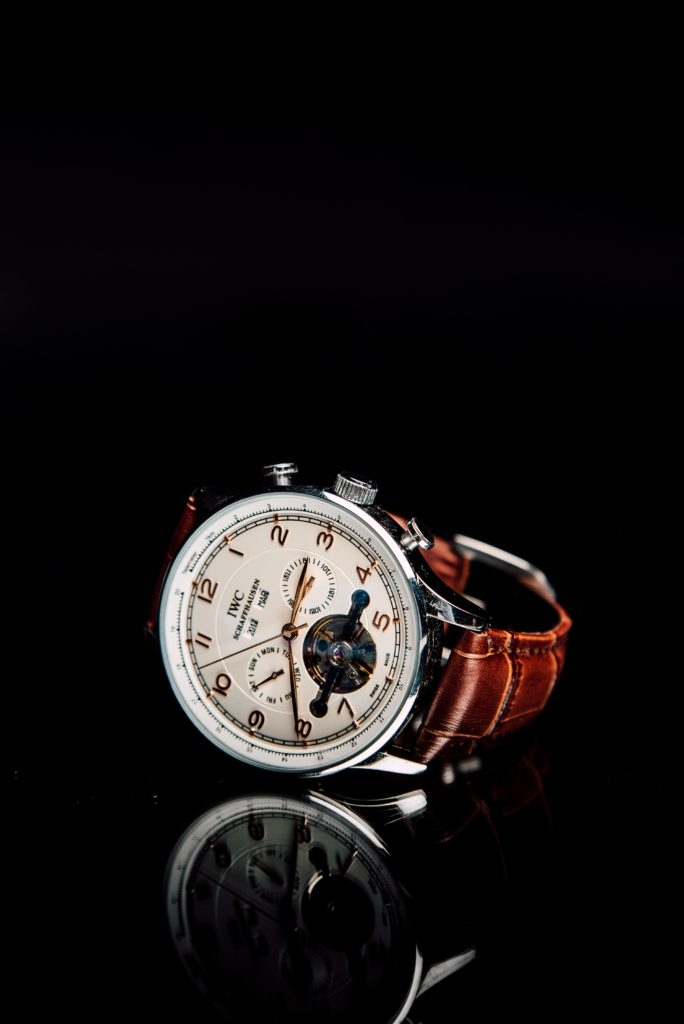
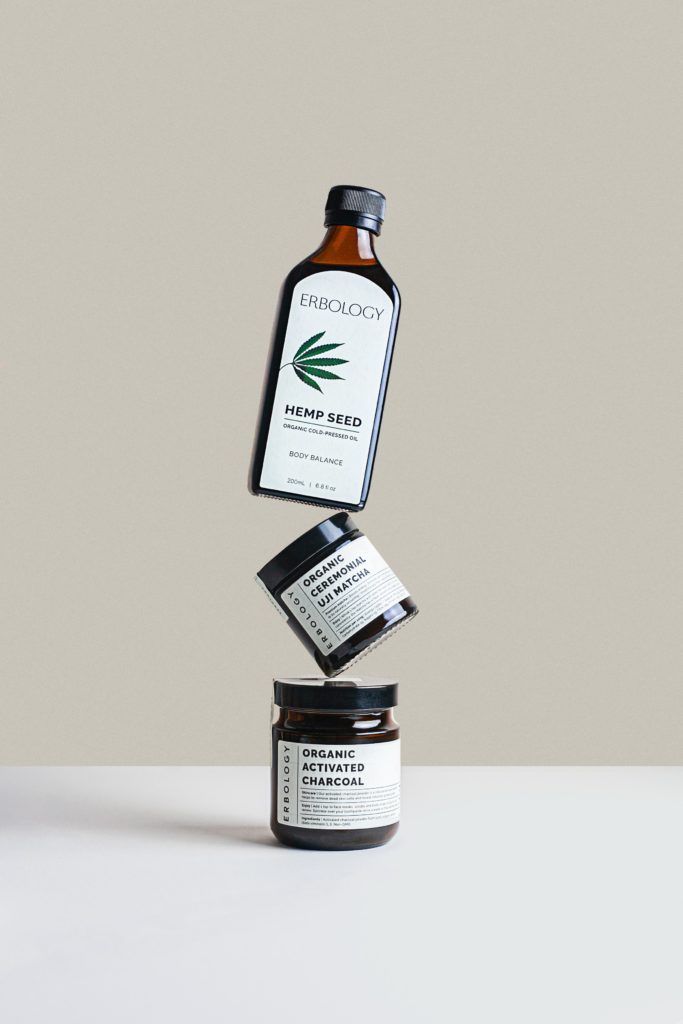
2. A more popular and creative option is photography, where you can “win” more with the product. The product or service is photographed in an environment in which it is naturally found, such as a photo of a watch on a wrist, a photo of a hot tub outdoors, or food on a table.

The idea, the arrangement of the composition, the organization of the spatial and color scanning play a key role.
These photographs should tell a story, evoke emotions and point to the common use of the product.
Where you can use advertising photography?
- Internet (banners, social networks, eshop, web)
- Print (magazines, catalogues, brochures, advertising leaflets)
- Posters (billboards, bulletin boards)
Subtle advertising can also be found on products that companies often use for promotions. You’ll find these on cups, printed t-shirts, stationery, calendars, etc.
How to take avertising pictures
Photography tips and instructions for beginners:
Technique and equipment
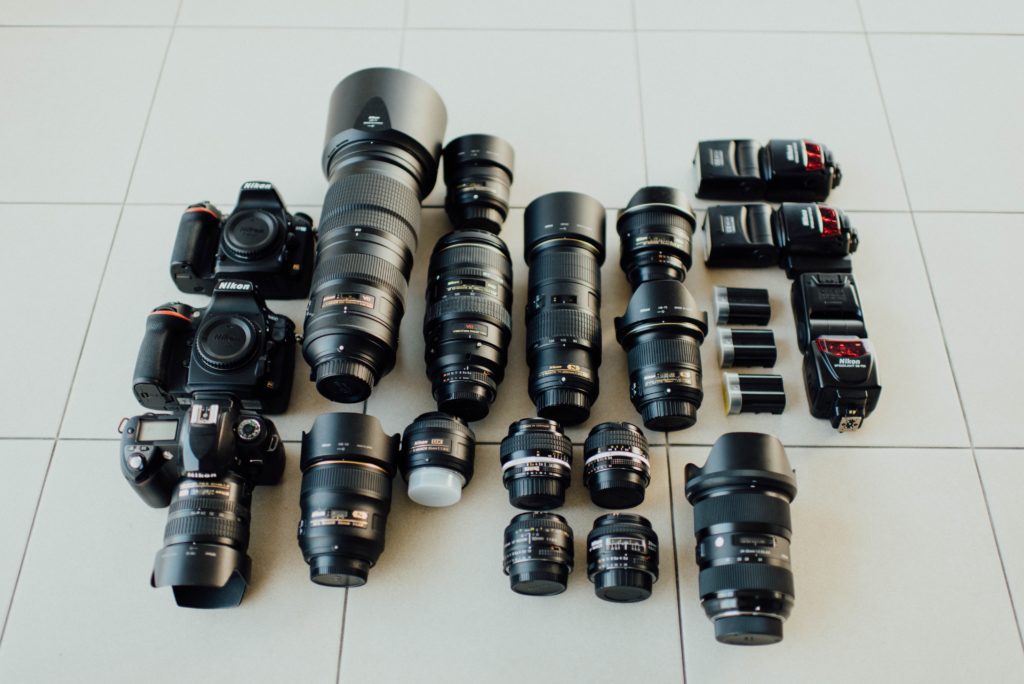
As a beginner, you certainly can’t do without an SLR camera when shooting commercial photography. You don’t have to buy a camera costing several thousand euros, but you won’t be able to get by with a small compact either. Ideally, you should put on a macro lens, but sometimes you can get by with an ordinary kit lens. For that, you will need good lighting and a background.
Other camera equipment
For product photography, I personally always use a tripod. Tripods are basically stands that stabilize the camera from shaky hands. Using a tripod will ensure that blur is reduced, which is crucial if you want your product photos to look professional and high quality.
I often use a macro lens for close-up photos. This type of lens will give you the added advantage of getting a little closer to photograph your subject much more intimately.
Use the right lighting
Start with lighting your product photography. Brightness, type, and color are among the basic properties of light. Brightness mainly affects exposure, the brighter the light, the more beautiful the exposure. By type, we divide light into direct (sun, reflectors, bulbs, flash) and indirect (created by reflection). Colour is mainly concerned with colour photography; it is more or less irrelevant in black and white photography.
There are two ways of lighting product photography: studio lighting and natural lighting. The product you are photographing, the purpose of the photo and the platform on which the product will be displayed will help you decide which setting to choose.
Most of the time, artificial lighting is used in product photography to best show the product, not have heavy shadows on it, and have it evenly lit from all sides. When you are photographing a natural scene (for example, a person reading or working), natural light may be sufficient. Just place the product as close to the window as possible and pick the right angle.
On the other hand, if the product is primarily used indoors (e.g. kitchenware) or contains small details, then artificial lighting is preferable.
Light reflection and shadows
You need to be careful of shadows. Sometimes incorrect lighting can completely ruin a photo because shadows will appear. If you need to lighten the reflection, use white paper placed towards the product. White paper or a reflective board works great because the light bounces off of them, which can lighten the shadows. It is ideal to use multiple light sources or use a technique to bounce so that all the folds of that product can be seen. However, sometimes shadows can also make for interesting stylistics in a photo, and you need to be careful with this in e-commerce photos.
Tip: You can also use a reflective board.
The angles matter
Taking multiple shots from different angles will allow you to play around with the composition, while still giving you plenty to choose from. Angles can really change the look of a product, adding personality and drama to even everyday products.
Tip: For optimum results, take several versions of the product and choose the best ones.
Editing
No matter how high quality your images are, you can always improve them when editing. When editing your photos, make sure you’re happy with the vibrancy of the colours. The same goes for imperfections in the image. You can remove these with an editing program such as Adobe Photoshop or Lightroom. It’s a good idea to shoot in RAW format so that you can get the most out of the photo when editing.
Tips and tricks at the end
- Adjust your environment before the actual shoot, it will save you time with any retouching. Make sure your product or background isn’t dirty, editing in post-production can take a lot more time than preparing and checking beforehand.
- Use a variety of subjects and tools, play around with what you have available in the room, unless you’re shooting the actual product for an e-shop. There are no limits to creativity.
- Shoot, shoot, shoot, especially with advertising photography, interesting ideas are the alpha and omega.
- With photography, not only in the actual shooting, but also in the editing.
- You don’t need expensive or studio equipment, even in modest conditions you can take good quality and good looking photos.
- Take inspiration from photos of well-known products, various blogs, social networks or photo databases, but don’t copy.
- Try to differentiate yourself from the competition and offer your customers something new, something special.
